
Home / Sculpting / Making a Mold / Casting / Painting / Gem Making Tutorial / Links / Contact Me
Sculpting the Original
Step One: Find a good reference picture.

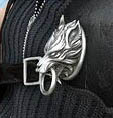
Ooh. Lovely. Actually, you should probably find more sky.pro than one picture, envisioning the item from as many different angles as possible. The item I'll be creating for this tutorial is Cloud's Wolf Fenrir Ornament from Final Fantasy VII: Advent Children.
You'll notice, when you examine the item and break it down into its' component shapes, that the item seems made up of different layers. A round, flat base covered by a layer of leaf-shaped fur locks, with a mound rising out of that to form the snout in front. (Think about which parts of the ornament you'll have to lay down first and what parts you'll have to build on top of them later and you should have a good idea on how to make the whole.)
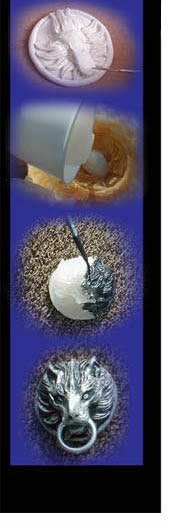
The first step in recreating this item: make the base.
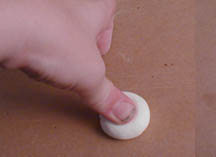
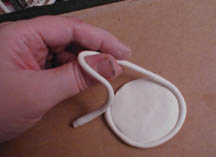
This I did by flattening a ball of sculpey to create a disc about 2-1/2" wide. I created the rounded outer rim of the ornament by making a long snake shape out of sculpey and wrapping it around the disc.
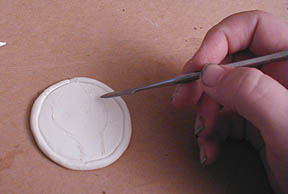
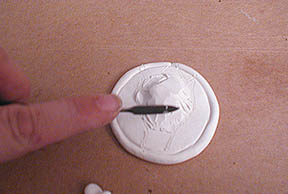
With the base made, I then stenciled in the rough shape of the wolf's head, marking it's placement on the disc. I then began to build up a mound of clay upon the disc, in the spot where I thought the clay would be thickest.
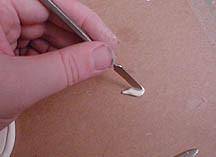
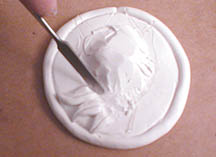
I then began work on making the mane of the wolf - the leaf-shaped locks of hair which would frame his head and provide the base for the rest of the figure. I made each leaf shape individually and placed them all on the disc around the raised mound.
Next step: The Mouth...
